6011 Atlanta Hwy Flowery Branch, GA 30542-5302
We proudly serve the entire state of Georgia.
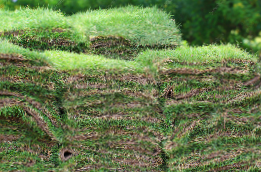
Do-It-Yourself Sod Installation
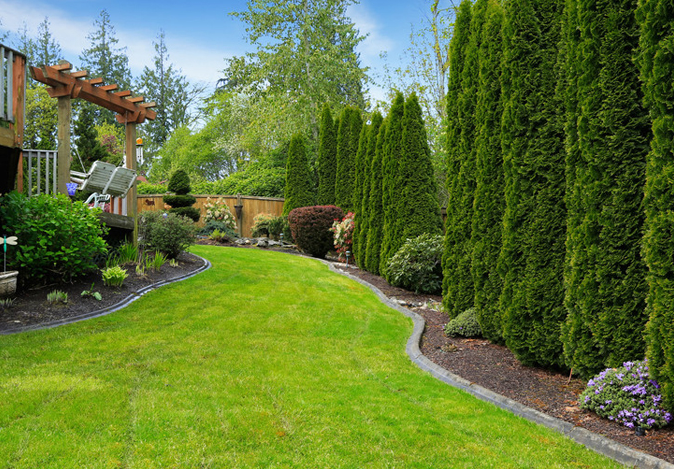
Laying sod yourself is a time consuming task that takes a lot of work. However, it will be well worth it when you see your beautiful new lawn. Read below for a detailed description of how to install sod.
Preparing the Ground for Sod
- Remove existing lawn, if any
- Rototill to a depth of 4-6 inches
- Remove all weeds, clods, and debris
- Add soil amendments (compost / soil mix)
- Rototill new soil into existing soil
- Rake and level
- Roll area with filled water roller to compact surface
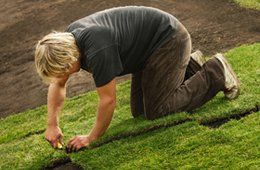
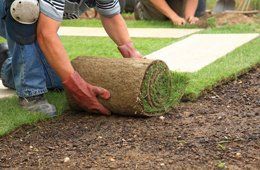
Installing Your Sod
- Your ground should be dry when installing sod
- Start at the longest straight baseline, then work from there
- The ends should touch, but should not overlap
- Make sure that seams are staggered, like brickwork
- When you have about 200 square foot installed, lightly water to avoid discoloration
- After sod is installed, go over it with a roller to insure contact with the ground surface
- Make sure roller isn’t overfilled with water, to avoid imprints in sod
Instructions for Care After Installation
Water is the most important ingredient in the success of your new lawn. For the first 2 weeks after installation, your lawn will need to be watered approximately twice a day for 30 minutes. If the weather is extremely hot, more watering may be necessary. The lawn will need to be kept consistently moist during this period.
Try to stay off your new lawn as much as possible during the first 2 weeks as it takes root. Don’t fertilize for the first 6 weeks, and don’t mow it for 2 weeks. When you do mow the grass for the first time, be sure to have your mower on its highest possible setting.